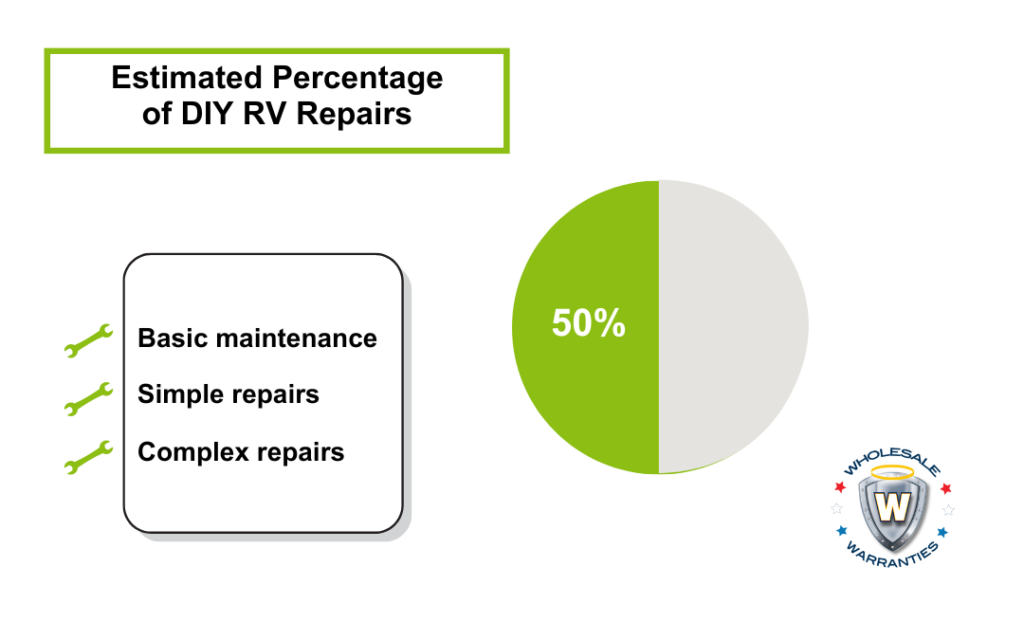
Owning an RV is a big financial responsibility, and with so many complex moving parts, they tend to break down. As a result, many RVers develop enough skill to handle minor repairs and some routine maintenance procedures. Warranty companies know this, which is why most offer the flexibility of policies compatible with handy RVers.
This article addresses common RV DIY repairs and maintenance issues that are compliant with extended warranties. Additionally, we cover which types of extended RV warranty coverage are best for varying levels of DIY skill—from minor fixes to serious tinkering—without worrying about voiding your policy.
5 Easy DIY RV Repairs
There are many common RV repairs that most people can accomplish themselves—without voiding warranty coverage. Here is a list of five common DIY RV repairs and how to identify them.
Seal Repair & Replacement
Seals experience wear over time due to exposure. Seals present common issues but are easy to maintain. Identify worn or damaged seals by inspecting for dryness and cracking. The weather seals around your slide-outs are a great example of an area to regularly check and maintain to prevent damage.
Plumbing Troubleshooting
Clogs are a common issue but can cause backups if left unaddressed. Clogs are identified by lack of draining water and waste. Fortunately, most clogs are an easy fix. Keep in mind that RV toilet systems function differently than regular plumbing and may require holding tank intervention. Sometimes just a plunger is enough, but it’s a good idea to keep disposable nitrile gloves and holding tank cleaner on hand.
Battery Replacement
Whereas some folks prefer the convenience of a local mechanic, many opt to replace their own batteries. If the battery is low and not recharging to the recommended voltage, then it’s time for replacement. This can be accomplished with a socket wrench and replacement battery. For added precaution, you may opt to wrap the wrench handle in electrical tape or use a wrench extension.
Motor Oil Change
DIY oil changes are a great way to save money on labor costs. Required tools include a ratchet and socket set, standard wrench, screwdrivers, funnel, and a ramp or jacks. Locate the drain plug and filter. If you do have an RV extended warranty, be sure to keep a log of this kind of maintenance, including dates and tools used.
Filter Replacement
Replacing cabin filters is a simple and inexpensive DIY RV repair. Replacement instructions will vary depending on the RV model, so refer to the user manual or another trusted source for guidance. Refer to model specifications to know which size filter is necessary.
Basic DIY RV Maintenance Checklist
Routine maintenance is essential for preventing major repairs, maximizing your extended warranty, and extending the lifetime of your RV. Before hitting the road, it’s important to assess vehicle health and readiness. This ensures a smooth, safe journey. Here is a simple RV maintenance checklist to prepare for your next trip:
Check Warning Lights – Turn on the motorhome and check the dashboard for any warning lights. Address any concerns the vehicle is alerting.
Check Tires – Check the tire pressure with a gauge and inspect for signs of wear and tear. If needed, inflate the tires to the manufacturer recommended PSI level. Check the tread depth with a measuring tool or use the penny method. Consider securing RV tire and wheel protection for added peace of mind.
Locate Fire Extinguisher – Fire extinguishers require semi-regular inspection to ensure proper function. Locate the fire extinguisher and make sure it sits in a secure but accessible location. Make sure the inspections are up to date and review the user guide as needed.
Test Alarm Systems – Make sure smoke and carbon monoxide detectors are functioning properly.
Test Battery Charge – Use a voltmeter or multimeter to test battery charge. If the level is low, you may need to recharge or replace the battery.
Check Propane Levels – Check propane and refill as needed. Replace any corroded tanks.
Empty Holding Tanks – Make sure the RV holding tanks are clean and empty. Sanitize the freshwater tank.
Test Slide-Outs – Test slide-out functionality and smooth operation. Lubricate moving parts as needed.
Test Appliances – Make sure the refrigerator and stove are running properly. If an appliance is not running, check for blockages, loose connections, or disconnections.
Inspect Seals – Examine exterior seals for signs of wear, such as dryness or cracking. Seals need to be properly cleaned and moisturized to prevent damage, which can lead to leaks and water damage. Apply RV-safe sealant to areas exhibiting signs of wear.
Check Motor Oil – Conduct a dipstick test to determine the oil level and quality. If the oil level is too low, you may need to add more. If the oil is brown, it’s time for a change. With the right materials, this can be a great money-saving DIY task. Refer to the owner’s manual for the correct type of oil and filter model.
Check Internet Connection – If Wi-Fi and internet connection are important for your RV travel experience, be sure to test connectivity before venturing off the grid. Keep in mind that different systems have different troubleshooting procedures.
Test Windshield Wipers – Test the windshield wiper blades to make sure they function effectively. Smearing is a sign that it’s time to replace the wiper blade insert. These are inexpensive to replace; just make sure to buy the right inserts for the RV model.
Wash & Wax Exterior – This step is optional but recommended. Wash the exterior of the RV with water and an RV-friendly cleaner. Consider applying wax to the exterior to add a protective coat.
Advanced DIY RV Maintenance Checklist
In addition to the previous maintenance items, complete the following checks in accordance with your capabilities. This checklist includes items that require greater knowledge and skill to address properly. Before starting any repairs, ensure RV warranty compliance if applicable.
Inspect Belts and Hoses – Look for signs of damage or wear. Replace as necessary, then test.
Inspect Water Heater – Check the water heater for signs of water damage or anode corrosion. If corrosion is present, consider replacing the anode.
Tips for Proper RV Storage
Part-time and seasonal travelers have to store their RV when not in use. This aspect of RVing is almost entirely DIY, except for addressing specific maintenance issues. Proper storage preserves the condition of the RV by minimizing exposure and preventing breakdowns. Here are some reminders for proper RV storage:
Empty Holding Tanks – Empty the freshwater, graywater, and black water tanks. Be sure to empty gray and black water either via sewage hookup or at a dump station. Emptying the tanks prevents smell, unnecessary wear, freezing damage, and potential water damage.
Remove Perishables – This step may seem obvious, but it’s easy to forget items in the refrigerator. Removing perishable food prevents unpleasant odors and rodent infestation. Rats and mice are notorious for chewing through electrical wiring, which can be costly.
Defrost Refrigerator – After removing all the items from the fridge, allow time to defrost. Make sure the area is dry when complete to prevent mold and water damage.
Shut Off Connections – Turn the water pump valves to “off,” and shut off all water and propane connections. No lines should be running in or out of your RV while in storage.
Clean the RV – Wash and clean the exterior and interior to keep your RV in pristine condition.
Inspect Tires – RVs are incredibly heavy, and all that weight rests on the tires. Check the tire pressure and reinflate or replace as needed. Consider rotating your tires to ensure that the RV rests evenly on the tires so they can properly support the vehicle.
Secure the Vehicle – Always close and lock all windows and doors when storing your RV. Test and secure alarm systems, if applicable. Consider using hitch locks or wheel locks for additional security.
Disconnect Batteries – In extreme cold or wet climates, you may consider disconnecting the batteries. Store them by keeping them in a cool, dry place. Consider changing the batteries in carbon monoxide and smoke detectors.
Cover the RV – To further protect your rig from the elements, consider fully covering the vehicle.
Proper storage is a key aspect of RV maintenance. RV upkeep prevents breakdowns caused by unnecessary wear and tear, which would not be covered under insurance or warranty.
Essential Tools for DIY RV Repairs
Regardless of skill level, it’s always a good idea to travel prepared. Having a tool kit on hand offers peace of mind and the ability to address easy fixes on the go. Although many people have more elaborate tool kits, it’s important to ensure the basics are covered first. Here are some essential tools for DIY RV repairs:
- Pressure Gauge
- Voltmeter
- Level
- Measuring Tape
- Duct Tape
- Screwdriver
- Pliers
- Wrench & Socket Set
- Hammer
- Assorted Small Parts
DIY RV Repair Safety Measures
RVs are large vehicles with many working parts. Working on an RV poses some risks, especially if you aren’t careful. Plan ahead and practice common sense. Always refer to the user manual for instructions and information. Here are some basic DIY RV repair safety measures to adhere to:
Assess Tools & Equipment – Do not use damaged tools or equipment. This could lead to unnecessary injury or damage to the RV.
Clear Area – Keep your work area clear of unnecessary equipment and debris to ensure easy, safe access.
Use Personal Protective Equipment (PPE) – When applicable, wear masks with respirators, nitrile or work gloves, or ANSI-certified safety glasses.
Exercise Caution – Be careful when working with heavy moving parts or electrical components. Mitigate risk factors by implementing a failsafe. Refer to the user manual for proper procedures and vehicle information.
RV Warranties for DIY Renovations & Resale
A lot of DIY RVers like to flip RVs for eventual resale. Because most interior renovations are aesthetic installations or replacements, they typically do not impact warranty coverage. This gives RVers the option to enjoy protection while updating their current rig. Keep in mind that mechanical upgrades would likely not qualify for protection.
Along with renovations, extended warranties add resale value to an RV. Most extended warranties are transferable, meaning DIYers can negotiate better prices, and the new owner can enjoy additional protection for the remainder of the term.
How Not to Void Your Extended Warranty
Handy RVers may hesitate to sign a warranty contract, but the reality is that warranties are difficult to void. As long as you don’t make any repairs or upgrades to components that impact the overall function of the RV, maintenance work will not void coverage. Warranties cover defects and unexpected mechanical or electrical failures—not regular wear and tear or routine maintenance.
Best RV Extended Warranty for DIY Travelers
When purchasing an extended warranty from a warranty broker like Wholesale Warranties, you have options. Policies are customizable and catered to your travel lifestyle—including how handy you are. The following warranty types are two coverage levels well suited to people who like to do their own RV repairs.
Listed Component Warranty
A listed component warranty may also be called a stated component or comprehensive warranty. As the name suggests, these policies explicitly list what is covered in the contract. This transparency provides RVers with a realistic sense of what they can or cannot tinker with. This is a great coverage option for people who dabble in basic repairs and maintenance but prefer to take major repairs, such as engine issues, to licensed mechanics. In the case of the latter, the warranty administrator will pay repair costs for all covered components.
So, what’s covered? Comprehensive policies provide extensive coverage and peace of mind. They typically cover major components such as the engine, transmission, HVAC, water system, refrigerator, and more depending on the provider.
Powertrain-Only Warranty
A powertrain-only policy is a great, affordable option for especially savvy DIY RV repairs. This type of warranty covers only the powertrain components, such as the engine, drivetrain, and transmission. For those who like to address issues with things like the water heater, refrigerator, stove, and other coach appliances, consider a powertrain-only warranty. This option offers affordability and flexibility while extending protection to the most expensive repairs an RV can face.
An extended warranty complements DIY skills, picking up where the policyholder leaves off. While RVers can manage minor repairs without voiding their policies, they can let the warranty administrator cover the bill for major component failures. Combined with regular maintenance, an RV extended warranty can save you money and extend the lifetime of your RV. Get a free quote today.
What are the most common RV breakdowns?
Some of the most common RV breakdowns include slide-out malfunctions, hot water heater failure, water pump problems, electrical system failures, refrigerator failures, and leveling system malfunctions.
Are RVs expensive to repair?
Yes; RVs are expensive to repair. Parts, shipping, and labor costs have continued to increase. RVs are complex machines, and major breakdowns can cost tens of thousands of dollars out of pocket without warranty protection.
What is the average RV lifespan?
RVs can function from 10 to 30 years, or about 200,000 miles, depending on various factors. Factors include manufacturer, model type, frequency of use, mileage, and upkeep. Proper regular maintenance is essential for extending the life of your RV.


